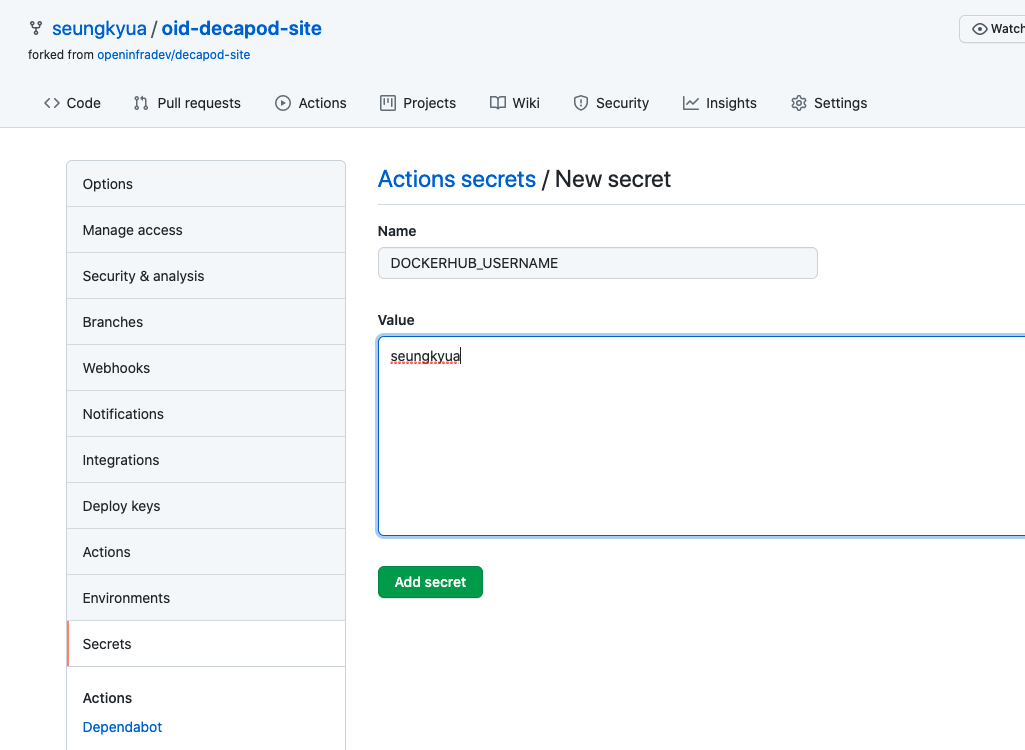
최근 github action 을 workflow CI/CD 로 활용하는 사례가 점점 늘어나고 있다. 이전 글인 "10분만에 만드는 Docker image 저장 자동화"도 github action 을 활용하여 docker registry 에 컨테이너 이미지를 빌드하고 push 하는 방법을 설명하였다.
이번에는 github action 을 client cli 를 활용하여 원하는 시점에 manual 로 호출하는 방법을 알아보자.
1. 새로운 github repository 만들기
먼저 github repository 를 만들어 clone 한다.
$ git clone https://github.com/seungkyua/github-action-sample.git
$ cd github-action-sample
2. workflow action 파일 만들기
github action 을 위한 .github/workflows 디렉토리를 생성하고 action 파일인 hello.yaml 파일을 만든다. 디렉토리 명이 workflow 가 아닌 workflows 이니 실수하지 않게 조심하자.
$ mkdir -p .github/workflow
$ touch .github/workflows/hello.yaml
hello.yaml 은 다음과 같다.
name: Hello

on:
  workflow_dispatch:
    inputs:
      greeting:
        required: false
        default: 'Hello'
        type: string
      name:
        required: false
        default: 'Seungkyu'
        type: string

jobs:
  build:
    runs-on: ubuntu-latest
    steps:
      # Checks-out your repository under $GITHUB_WORKSPACE, so your job can access it
      - uses: actions/checkout@v2

      - name: Run hello.sh
        run: |
          set -xe
          chmod +x .github/workflows/hello.sh
          .github/workflows/hello.sh ${{ github.event.inputs.greeting }} ${{ github.event.inputs.name }}
workflow 에서 parameter 를 받기 위해서는 workflow_dispatch: 를 명시적으로 선언하고 parameter 는 inputs 아래에 기술한다. inputs 아래 나오는 이름이 parameter 명이 되며 필수 여부, 기본값, 타입 등을 지정할 수 있다.
여기서는 'greeting' 과 'name' 이라는 2개의 parameter 를 받는 다고 선언하였다.
다음은 workflow step 인데 첫번째 actions/checkout@v2 는 현재의 github repository 소스를 다운 받는 다는 의미이다. 두번째 name: Run hello.sh 는 run: 으로 shell 을 실행하겠다는 의미이며, 앞 단계에서 소스를 다운받았으니 hello.sh 을 실행할 수 있게 되었으며, 실제로 hello.sh 을 실행하면서 parameter 를 argument 로 호출한다.
parameter 는 ${{ github.event.inputs.파라미터명 }} 과 같이 활용할 수 있다.
다음은 간단산 hello.sh 쉡스크립트 이다.
#!/bin/bash

if [ $# -eq 1 ]; then
  greeting=$1
elif [ $# -eq 2 ]; then
  greeting=$1
  name=$2
fi

echo "[hello.sh] ${greeting} ${name}\n"
이제 해당 파일들을 github 에 push 한다.
3. workflow 호출하기
github workflow client 를 다운 받는다. mac 에서는 brew 로 간단히 설치할 수 있다.
$ brew install ghgithub-action-sample 소스를 clone 한 디렉토리에서 gh auth login 으로 github 에 로그인 한다.
$  gh auth login
? What account do you want to log into?  [Use arrows to move, type to filter]
> GitHub.com
  GitHub Enterprise Server
GitHub.com 을 선택하고 엔터를 치면 아래의 내용이 나온다.
? What account do you want to log into? GitHub.com
? You're already logged into github.com. Do you want to re-authenticate? (y/N) y
이미 로그인을 했기 때문에 다시 로그인 하겠다는 의미이며 처음이면 로그인 하라는 메세지가 나온다. y 로 선택하고 로그인을 하자.
? What account do you want to log into? GitHub.com
? You're already logged into github.com. Do you want to re-authenticate? Yes
? What is your preferred protocol for Git operations?  [Use arrows to move, type to filter]
> HTTPS
  SSH
HTTPS 를 선택한다.
? What account do you want to log into? GitHub.com
? You're already logged into github.com. Do you want to re-authenticate? Yes
? What is your preferred protocol for Git operations? HTTPS
? Authenticate Git with your GitHub credentials? (Y/n) y
y 로 Github credentials 로 로그인을 한다.
? What account do you want to log into? GitHub.com
? You're already logged into github.com. Do you want to re-authenticate? Yes
? What is your preferred protocol for Git operations? HTTPS
? Authenticate Git with your GitHub credentials? Yes
? How would you like to authenticate GitHub CLI?  [Use arrows to move, type to filter]
  Login with a web browser
> Paste an authentication token
token 으로 로그인을 한다.
? What account do you want to log into? GitHub.com
? You're already logged into github.com. Do you want to re-authenticate? Yes
? What is your preferred protocol for Git operations? HTTPS
? Authenticate Git with your GitHub credentials? Yes
? How would you like to authenticate GitHub CLI? Paste an authentication token
Tip: you can generate a Personal Access Token here https://github.com/settings/tokens
The minimum required scopes are 'repo', 'read:org', 'workflow'.
? Paste your authentication token: ****************************************
정상적으로 login 이 되면 아래와 같이 표시된다.
- gh config set -h github.com git_protocol https
✓ Configured git protocol
✓ Logged in as seungkyua
로그인 후에 gh workflow list 명령어로 workflow 를 조회하면 아래와 같이 Hello 란 workflow 가 있음을 알 수 있다.
➜ github-action-sample git:(main) gh workflow list
Hello  active  14639329
이를 실행해 본다.
$ gh workflow run hello.yaml -f greeting=Welcome -f name=Seungkyu실행 중인 workflow 를 조회할 수 있다.
$ gh run list --workflow=hello.yaml
STATUS  NAME            WORKFLOW  BRANCH  EVENT              ID          ELAPSED  AGE
*       Initial commit  Hello     main    workflow_dispatch  1390917347  7s       0m
완료된 후의 workflow 를 조회하면 STATUS 가 완료로 체크되어 있다.
$ gh run list --workflow=hello.yaml
STATUS  NAME            WORKFLOW  BRANCH  EVENT              ID          ELAPSED  AGE
✓       Initial commit  Hello     main    workflow_dispatch  1390917347  15s      2m
웹 브라우저로 repository https://github.com/seungkyua/github-action-sample 에 접속하여 Action 탭의 build 를 클릭해보면 아래의 화면 처럼 '[hello.sh] Welcome Seungkyu\n' 가 출력되어 있음을 알 수 있다.

4. 활용법
manual 하게 github action 을 호출하는 부분은 다른 workflow tool 과 같이 사용할 때가 많다. 예를 들면 argo workflow 에서 하나의 단계로 github action 을 필요한 시점에 호출하여 결과를 활용하는 등으로 사용할 수 있다.
github action 은 github 의 리소스를 활용하므로 CI 에서 많은 리소스가 필요할 때는 github action 을 같이 활용하는 것도 좋은 대안이 될 것이다.


